
Projects created in iMovie are comprised of events which are smaller pieces of media like video clips or pictures. Unfortunately iMovie events do not get saved automatically by iMovie; only the project is saved. So if you try to open your iMovie file on a different machine than the one you started on, you will see the project but no events and your work will essentially be gone. However, this crisis can be averted by finalizing the project before quitting iMovie.
Here's how:
Step 1. Work on your project in iMovie. The movie project will often automatically be stored somewhere on the hard drive. When you are ready to call it quits for the day on your movie in progress, proceed to Step 2.
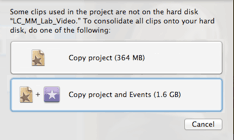
Step 2. Go to File > Finalize Project. Finalizing the project prepares (renders) the movie in all playable movie formats but it does not prevent further editing of the project. Be aware that finalizing does take some time, though. Let the project Finalize.
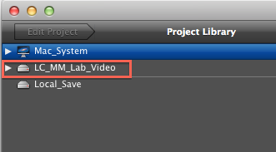 Step 3. Connect a portable hard drive or other storage device to your computer. This will appear on the Project Library screen under the list of all current storage devices. It's advisable to use an external hard drive with large capacity and not a USB "thumb" drive, since iMovie does not always recognize thumb drives.
 (Note to patrons of the Jones 135 computer lab: you can check out an external hard drive from the Lab Attendants for this purpose.)

As long as you continue working on the project and saving to the portable hard drive, you don't need to finalize it again. However, if you transfer it back and forth between a computer's hard drive and a portable drive, you will need to repeat the above steps and finalize it before saving it to your portable drive for further work.
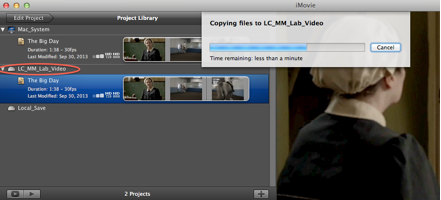 View of files being saved to your external drive in Step 4.
No comments:
Post a Comment
Note: Only a member of this blog may post a comment.